The official description of Steal an Egg for Squishy Dumplings tells you to discover rarer eggs, Squishy Dumplings, and sizes. Size is a real axis. Public sources do not publish a UI label for every size step or a cash value per step, so this page is a way to read the axis, not a fake size chart.
Ask three questions whenever a nest looks bigger than usual:
- Will the hatch tick harder than your weakest keep?
- Can your current Speed finish the chase?
- Would two safer steals fund the Speed rank that makes the big one comfortable?
A bigger presentation often means a higher payout after hatch and a tighter steal, because the prize draws harder chases in a six-player server.
How to read a size step
Use small, mid, and large as reading words, not as confirmed menu names.
- Small presentations teach the prompt, fill empty slots, and prove income ticks.
- Mid presentations are the usual farm once Getting Started is done. They pay enough to buy Speed and they still get home.
- Large presentations are worth a commit when escapes on the mid band already feel easy.
If two hatches are the same kind of Squishy and differ by size, prefer the larger one when you already clear that chase. Prefer the mid one when the large chase is deleting eggs. Deleted eggs pay nothing.
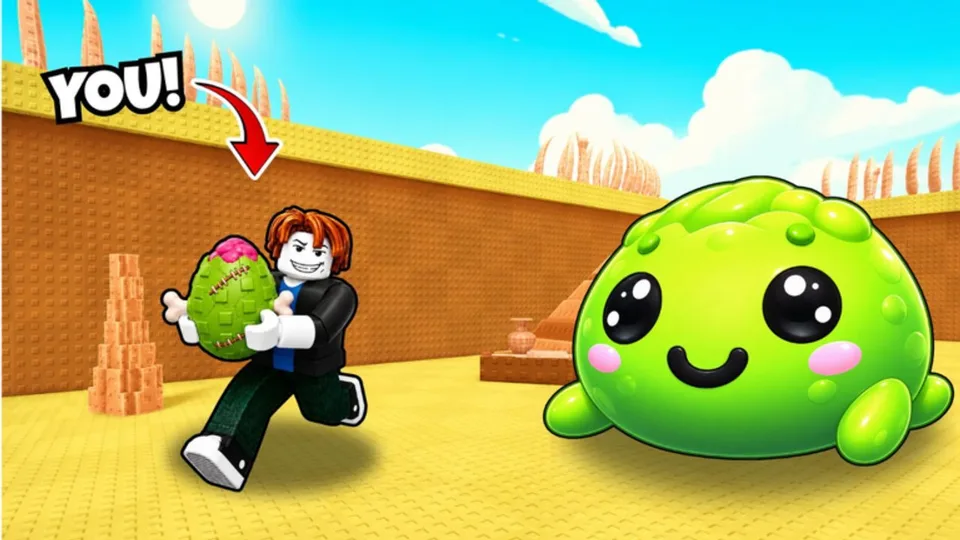
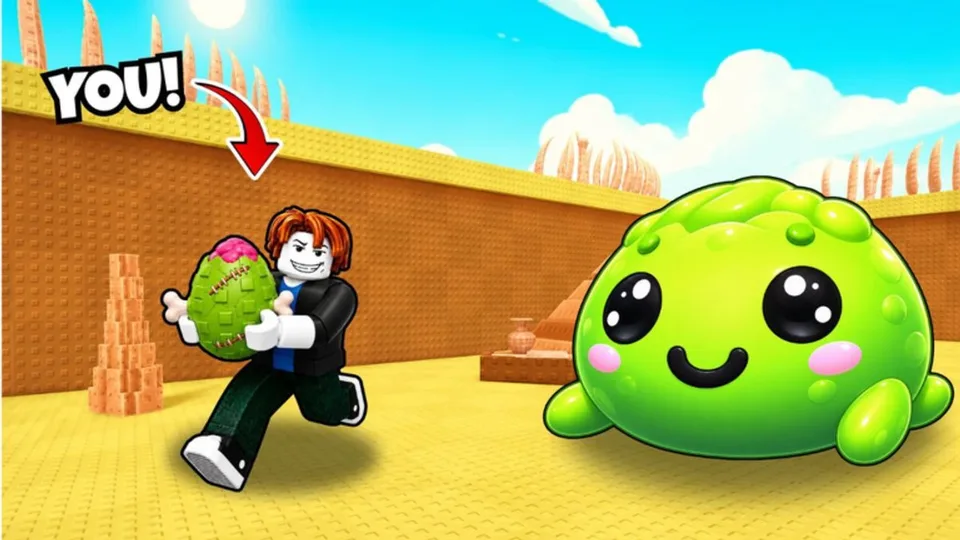
That art is one egg and one Squishy, not a size chart. Other promo art shows a striped egg with an orange Squishy, and the experience icon shows a cracked red egg with a gray Squishy. Use the pictures to notice that shells differ. Measure the hatch on your plot.
Size and rarity are different dials
A rare small hatch can out-earn a common large hatch. A large mid-rarity keep can out-earn a tiny trophy. Read both:
| Axis | Strong reason to chase | Weak reason to chase |
|---|---|---|
| Size | The shell is clearly bigger and the hatch pays more than your worst keep | It looks only slightly different and still fails the run |
| Rarity | The nest is contested and sparse | The same shell is everywhere and the parent is easy |
| Chase fit | Escapes succeed with room to spare | Escapes fail even with a good angle |
Sort pressure with the priority bands first. Then use size as a multiplier on that choice.
When mid-size is the better buy of your time
Mid-size wins when you complete the run, the ticks fund the next Speed rank, and the lobby is piled on the flashiest nest instead. It is the default farm while you are climbing toward Update 5 comfort, recovering from a bad streak, or playing on mobile where the camera already costs seconds. Move to large shells when mid escapes feel boring. Boredom means you have Speed margin.
Keep and sell by size
- Keep the best size you can currently hold of each useful lineage.
- Raise size on a lineage you trust before you fill slots with random small rares.
- Sell a duplicate smaller step once a larger step of that lineage occupies a slot.
- Sell a large trophy that loses on ticks to your weakest mid keep.
- If you are unsure, hold the unique large hatch for one measurement window, compare ticks, then decide.
Full sell logic is in How to Make Money.
What the updates changed
Update 4, New Eggs + Squishes around September 26, 2026, widened the pool. New lineages arrived with their own size range. Re-measure instead of assuming last month's ladder still wins. Steps are in the keep audit.
Update 5 places more of the valuable hunts in new spaces and raises the movement you need. Train until mid-size farms in those spaces feel safe. Only then schedule large attempts there. See Update 5 zones.
A size-focused session
- Open with an easy steal to confirm controls and the lobby mood.
- Farm a mid band you can finish. Hatch and place keeps.
- Sell duplicate smaller steps.
- Buy Speed or plot income.
- Attempt one large nest only if the last mid escapes felt comfortable.
- Stop after a secured large hatch, or after two clean failures. Train, then retry later.
Name your current farm band before you queue. Refuse chases above that band until the upgrade you wrote down is bought.